
Introduction
QR code generator tools allow you to create professional QR codes quickly and easily for your business, event, or project. In today’s digital world, QR codes are one of the fastest ways to share information, whether it’s for flyers, business cards, menus, or registration forms.
Using a free QR code generator like QRCode Monkey, you can design, customize, and download QR codes in minutes no technical skills required. In this step-by-step guide, we’ll show you exactly how to make a QR code that works perfectly for your needs.
What You’ll Need
Before you start, make sure you have:
- A computer or smartphone with internet access
The information or link you want to share (e.g., website, WhatsApp contact, event registration form, etc.)
Step-by-Step: How to Create a QR Code Using QRCode Monkey
Let’s get started
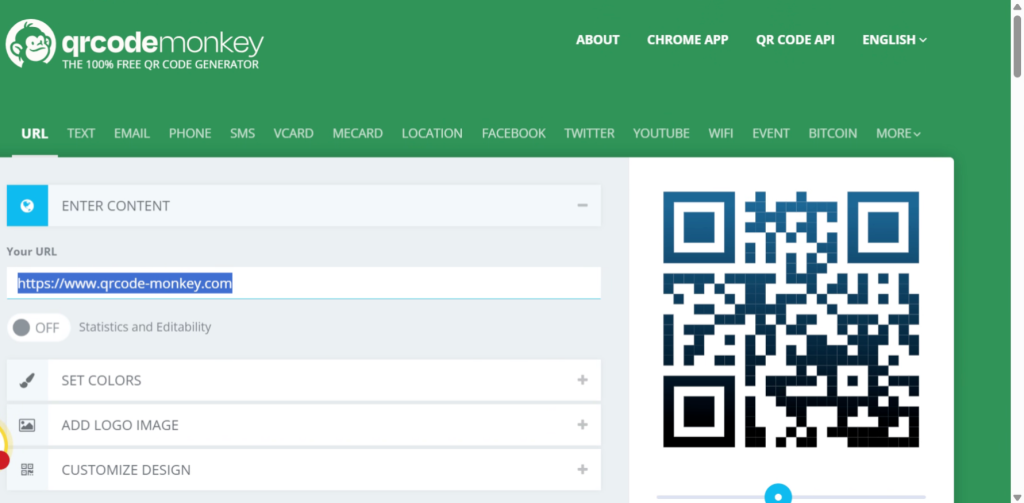
Step 1: Visit the Website
Go to 👉 https://www.qrcode-monkey.com/.
You’ll see a clean interface with options to add your content, pick colors, and customize the design.
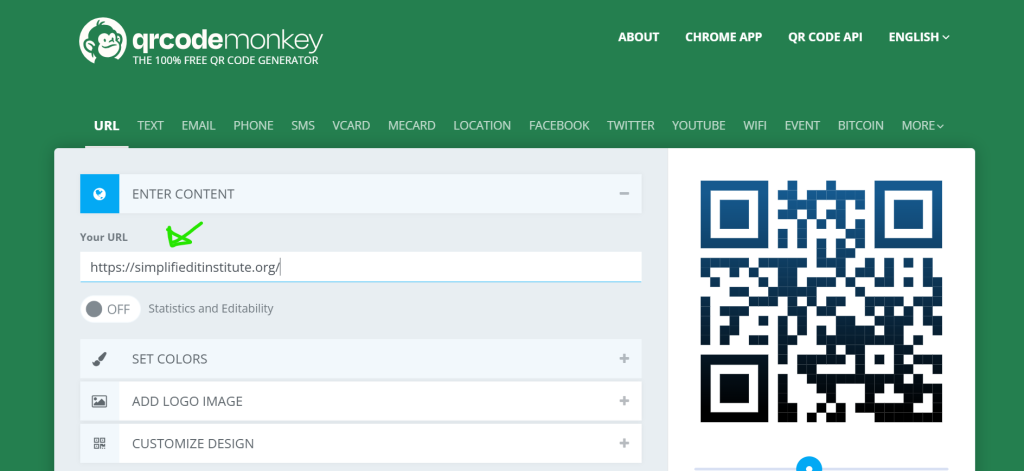
Step 2: Choose What Your QR Code Will Do
Click one of the options at the top depending on what you want your code to do:
- URL – link to your website
- Text – show a message
- Email – open a new email message
- Phone – dial a number automatically
- vCard – share contact information
- Wi-Fi – let users connect instantly
- PDF – link to a downloadable document
Example: Choose URL and paste your website or event registration link.

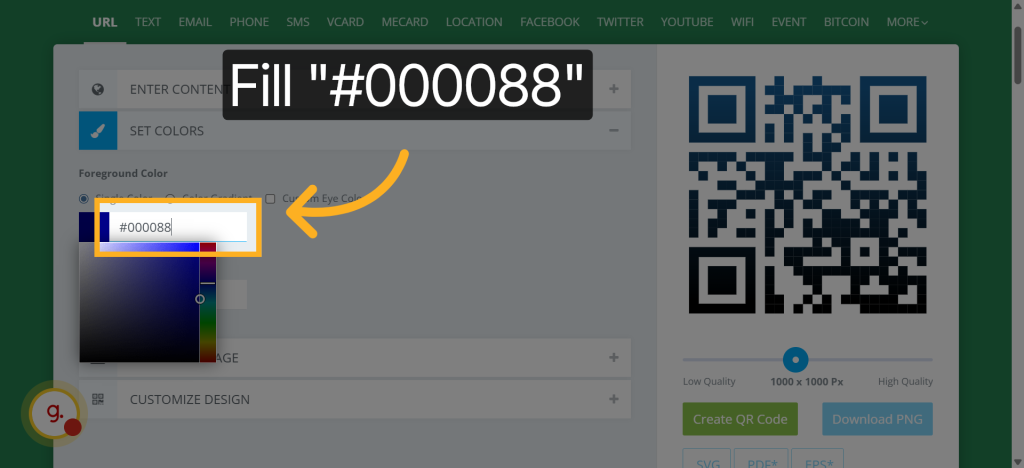
Step 3: Customize Your QR Code (Optional)
QRCode Monkey allows you to make your QR code unique:
- Click Set Colors to change from black to your brand colors.
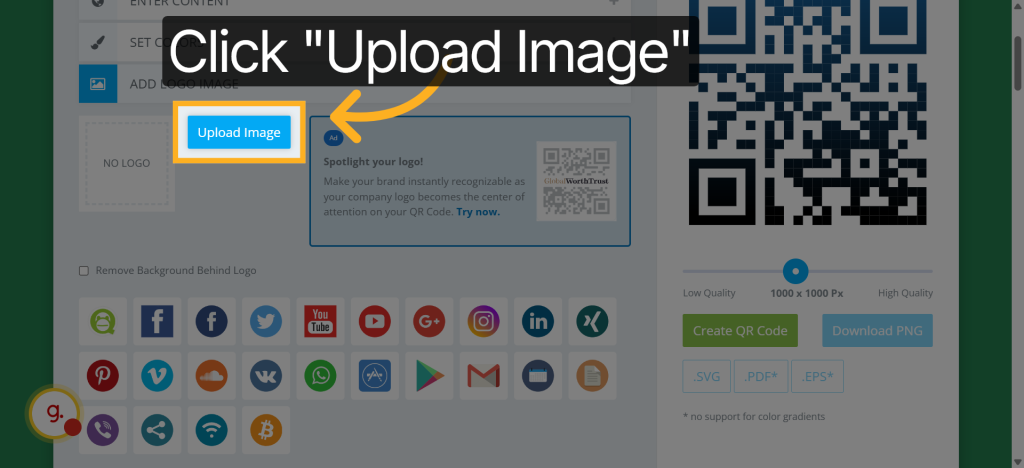
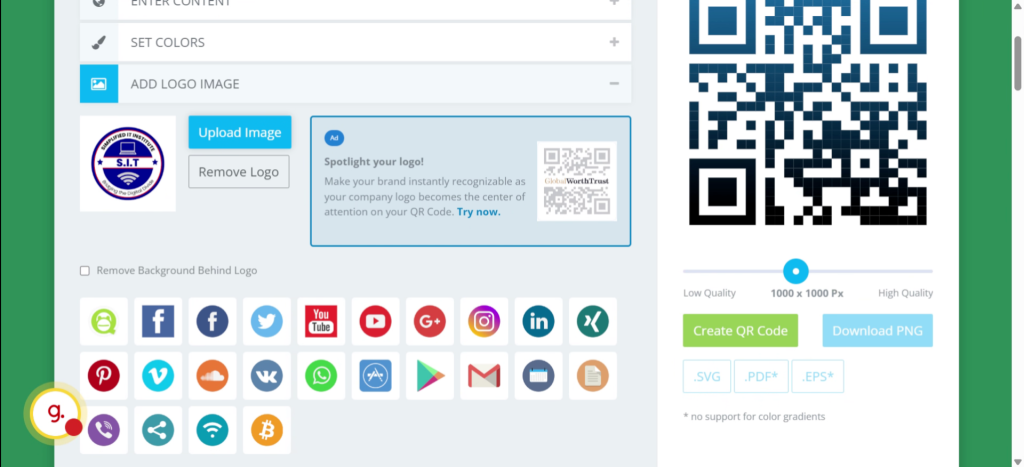
- Add your logo if you want by clicking Add Logo Image.
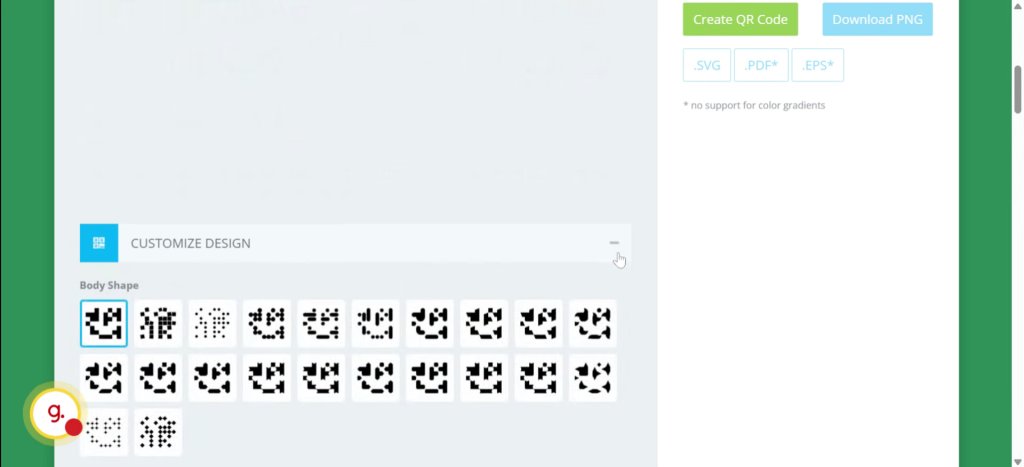
- Under Customize Design, select different shapes for the dots and eyes.
Tip: Keep the background light and the QR pattern dark for better scanning.
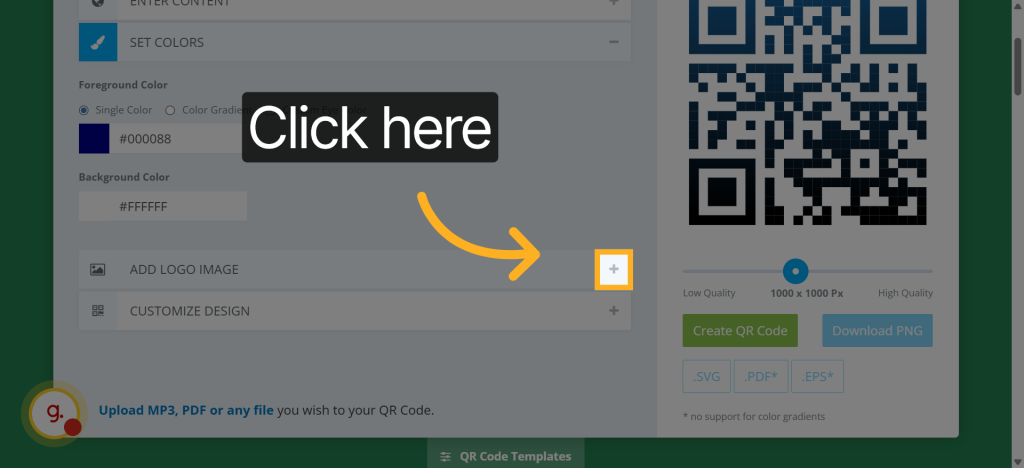
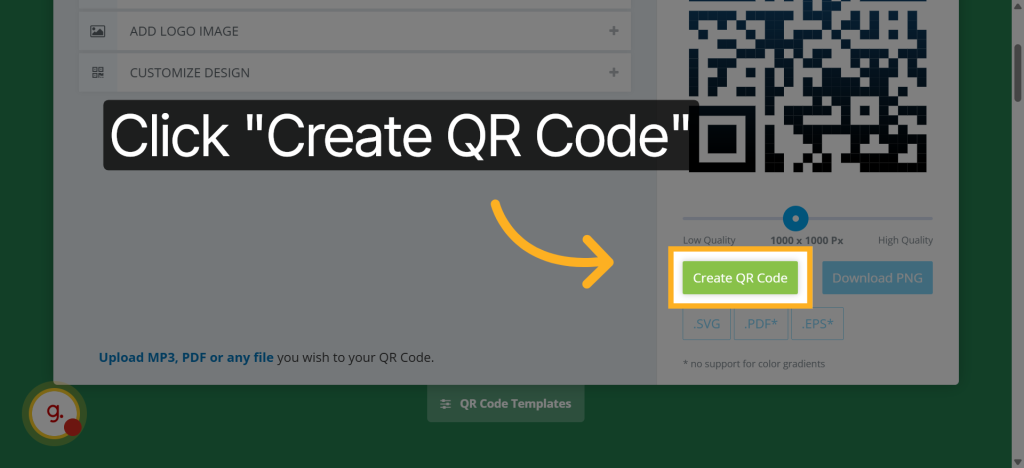
Step 4: Generate the QR Code
Once you’ve added your details, click “Create QR Code.”
You’ll instantly see a preview appear on the right side of the page.
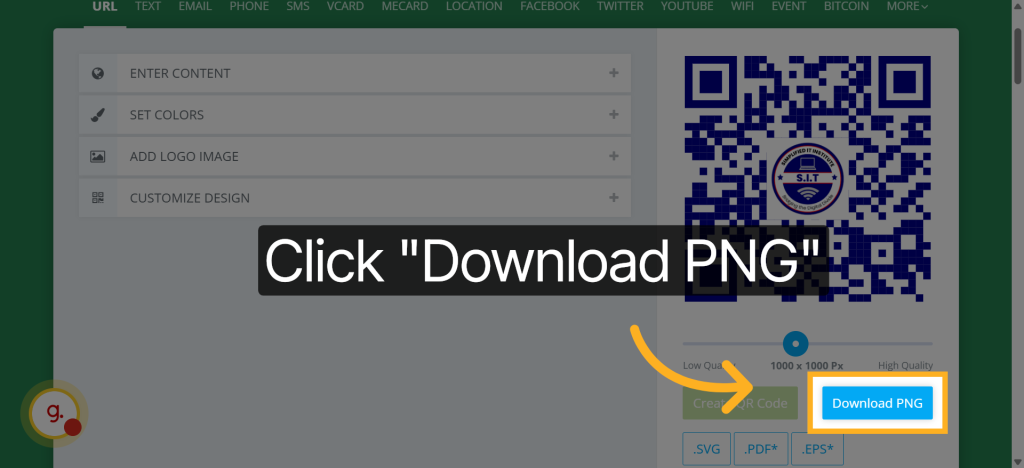
Step 5: Download Your QR Code
Click “Download PNG” to save it to your device.
If you’re printing it on posters, banners, or flyers, you can also choose:
- SVG (for vector graphics)
- PDF
- EPS
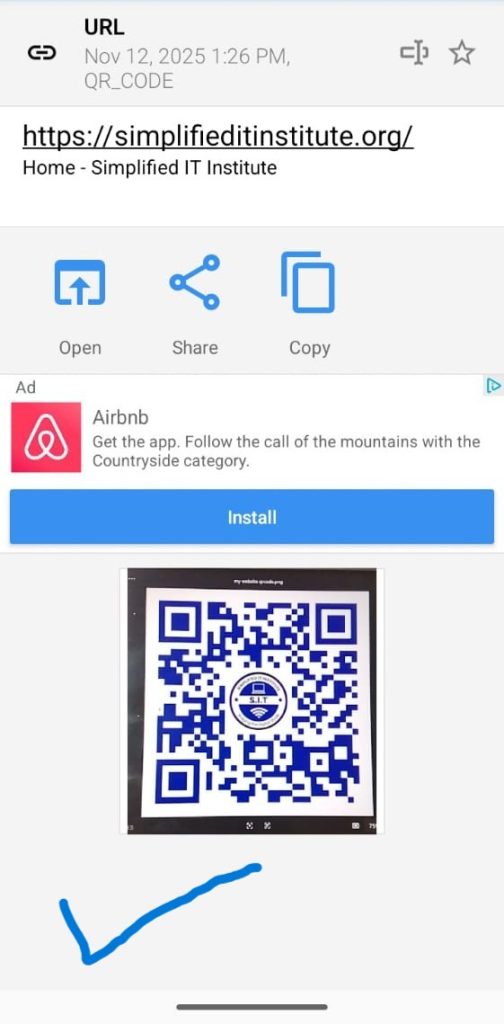
Step 6: Test Your QR Code
Before sharing or printing your QR code, make sure it works properly.
You can use your phone’s camera or a free scanning app such as QR & Barcode Scanner (available on Android and iPhone).
Here’s how:
- Open your camera or the QR & Barcode Scanner app.
- Point it steadily at your QR code (on your screen).
- Wait a few seconds it should detect and open the correct link or action automatically.
- If it doesn’t scan, check that your code has enough contrast and isn’t blurry.
If it opens correctly congratulations! Your QR code is ready to use.
Bonus Tips for Using QR Codes Effectively
Keep it simple: Link to one clear destination like your website or registration page.
Add a call to action: Use phrases like “Scan to Register” or “Scan to Learn More.”
Print clearly: Make sure it’s big enough to scan on posters or flyers.
Learning how to create a professional QR code is just one way to enhance your digital skills and prepare for the modern digital world. By mastering tools like QR codes, you can improve communication, streamline workflows, and make your projects more interactive and professional.
For more resources, tutorials, and guidance on developing IT skills, explore www.simplifieditinstitute.org a nonprofit organization dedicated to bridging the digital gap. SIT offers education, mentorship, and digital literacy programs to empower students, professionals, and communities with the skills they need to succeed in today’s technology driven world.
Conclusion
You’ve just created a professional QR code for free!
Now, try designing one for your awareness campaign, event, or project. A simple scan can make it much easier for people to engage with your message and stay connected.
Try It Now: https://www.qrcode-monkey.com/